We all remember that one fateful episode of Masterchef Australia where “the Dark Lord of the Pastry Kitchen”, Adriano Zumbo, was summoned to deliver a challenge that would truly test even the most experienced pastry amateurs – the macaron tower. Zumbo gained his notoriety after setting the croquembouche challenge in 2009, after which many inspired amateur chefs scurried around, calling every kitchenware store they could think of, to source a conical croquembouche mould.
Having just moved into my new apartment, I found myself asking myself whether I could really be bothered with a Christmas tree. I’m not a Christmas grinch, but I don’t have all that many people coming up to my home, and my living space was already the scene of a battle for real estate between the sofa and the kitchen cabinet. I like testing myself with challenging bakes, I love eating, and I can’t get enough of entertaining other people with food, so the obvious alternative was an edible christmas tree, of the macaron tower sort. I’d made plenty of macarons in the past, however this would be my first time taking them to the next level – quite literally – by assembling them into a conical tower, a feat that has surely brought many aspiring home patissiers to tears.
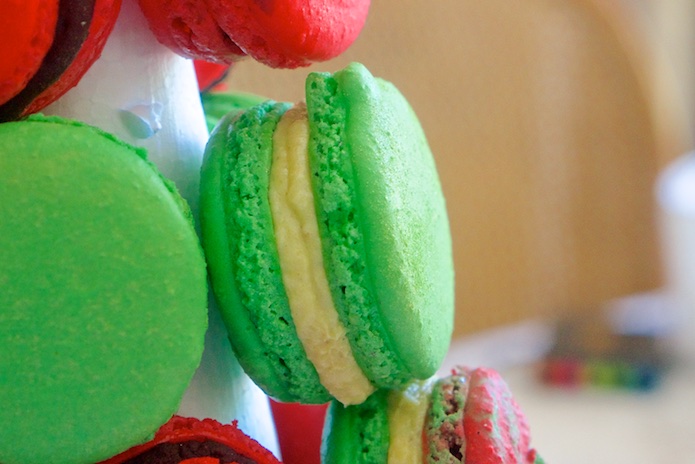
I decided to keep things as Christmassy as possible by making the macarons in red and green. The next step, then, was to think of fillings that matched the colours, just to keep things at least a little predictable. The red macarons would be chocolate ganache with raspberry jelly, and the green would be a pistachio buttercream.
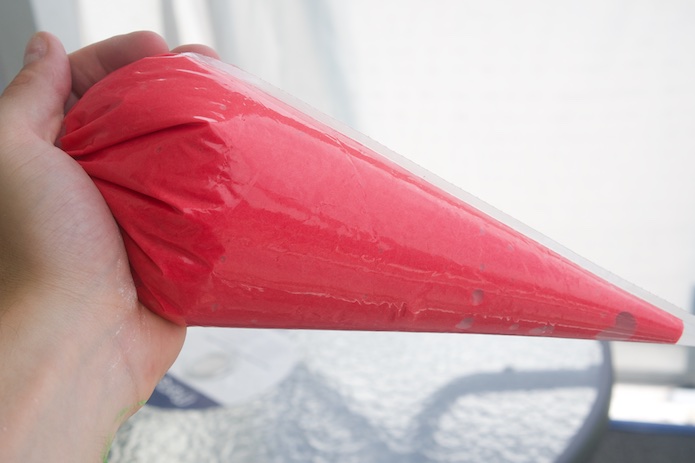
Weapon of choice – ready to pipe the red macarons
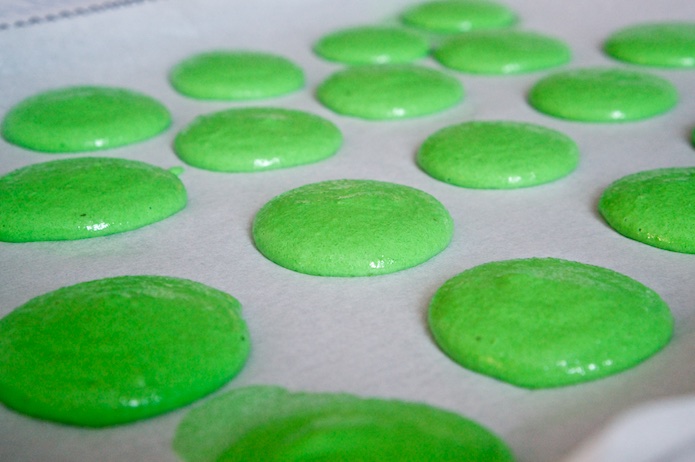
Green macarons resting before going into the oven
Chocolate Ganache with Raspberry Jelly
I started by making a pretty typical dark chocolate ganache (roughly 7:5 chocolate to cream ratio by weight). While it was cooling in the fridge, I made a raspberry jelly by cooking down some fresh raspberries for about 20 minutes and then straining out as much of the liquid as possible, leaving behind the seeds. I then brought the strained liquid back to the boil and added some agar-agar powder as a setting agent. When the chocolate ganache had a firm but still fluid consistency, and just before the jelly fully set, I gently folded the the two mixtures together. I didn’t combine them completely and uniformly because I wanted the chocolate ganache to have pockets of raspberry jelly, to give the sensation of “bursts” of raspberry in the mouth.
Pistachio Buttercream
I started by making a standard buttercream as the base of this filling. To give the pistachio flavour, I added a pistachio paste (roughly 600g of buttercream to 150g pistachio paste). I made the pistachio paste by first removing the skins from the pistachios (adding them to boiling water for a few minutes makes the skin peel off easily) and then roasting them in an oven to help bring out the flavour. I then milled them in my Breville spice grinder until the nuts were reduced to a fine paste with a smooth texture. When I was ready to add it to the buttercream, I mixed the paste with a few tablespoons of cream to loosen the consistency (otherwise the paste would just form clumps in the buttercream) and then folded through.
This was actually one of the toughest tasks that I’d tackled in my small apartment kitchen so far. Making macarons with about 3 or 4 egg whites for a small group of people is easy enough, however scaling up to more than a dozen eggs (I made about 80 macarons, including spares plus extras for gifts) taught me that my bowls aren’t quite big enough! (nor do I have enough of them…eggwhites, dry mixture, ganache, buttercream, pistachio paste, raspberry jelly…I found myself running short of bowls). Thankfully the boxing day sales were nigh; a perfect opportunity to fill the void in my kitchen.
Christmas morning was when I assembled the tower, ready for lunch that same day. I stuck toothpicks into the styrofoam cone and then gently attached each macaron, being careful to get the spacing exactly right (a difficult task when the macarons vary slightly in size) and to avoid crushing the delicate shells (some were invetitabely crushed, and then eaten on sight. Lucky I made those extras!). After much stress and angst the tower was complete – standing tall basking in its glory. Alas, the challenge was not over. The tower still needed to be transported to its final resting place, ideally in one piece. Thankfully the final destination was a mere 15 minute drive away, but what a tense drive it was. While I was taxied to lunch, I held the tower on my lap holding it as still as possible as we drove over the rough terrain. Thankfully it looked at the end of the drive as it did at the start. Success!
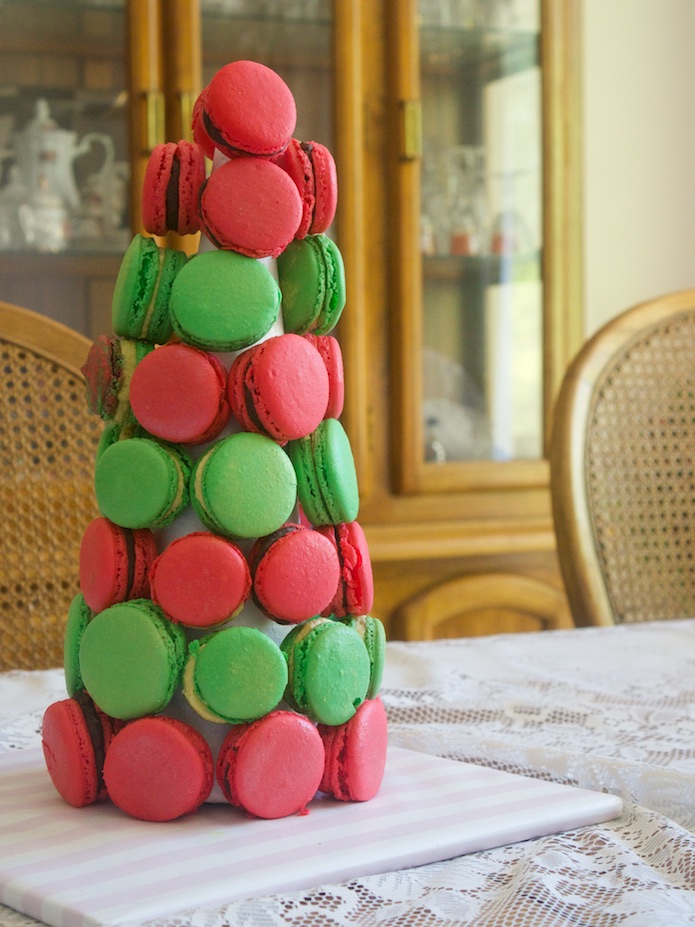
My edible Christmas tree, actually standing and not looking too bad. Not perfect, but not too bad.
The tree is far from perfect – the macarons are not spaced perfectly, they vary in size, some macarons have cracks, the filling isn’t perfectly uniform – however I was happy with it as a first attempt at building a tower. Although it was quite the challenge, I think I’d do it again. In fact, I leaned a couple of things that will make this a much easier task in the future. Learn from my learnings:
- Make an effort to ensure the macarons are almost identical in size. It should be obvious, however even minor variations (I free-piped my macarons without using any form of guide) can make assembly more difficult. Using a template could be wise.
- Think about logistics! Will it fit in the fridge (required if made in advance)? Should it be made on site, or transported after assembly? Have plans been made to transport it easily? Once at its final resting place, will there be room to store it in the fridge if required?
- Make sure the fillings have the correct consistency. This should always be a consideration when making macarons, however it is extra-important when they are to be assembled into a tower. Consider making the fillings slightly firmer than you normally would.
- If you’re storing the macarons in the fridge prior to assembly, be sure to let the filling soften a bit before sticking toothpicks through. The extra resistance of the cold filling makes the macarons much more difficult to handle without crushing the shells.
Leave A Comment